How to Install Vinyl Plank Flooring: A Complete Step-by-Step Guide for DIY Homeowners
Vinyl plank flooring offers a budget-friendly way to upgrade your home's look while being waterproof and durable. Installing vinyl plank flooring is a straightforward DIY project that involves preparing your subfloor, laying planks in a staggered pattern using click-lock or adhesive methods, and trimming edges to fit your space. You don't need advanced carpentry skills to get professional-looking results.
This guide walks you through everything from selecting the right type of vinyl flooring for your needs to completing the final transitions between rooms. You'll learn which tools are necessary, how to prepare your existing floor, and the exact installation steps to follow. Understanding the process before you start helps you avoid common mistakes and saves both time and money.
Whether you're working over concrete, wood, or existing flooring, the installation process remains simple and accessible. The right preparation and technique will give you a floor that looks great and holds up to daily wear for years.
Homeowners seeking flooring installation and remodeling services in Plano, Frisco, and surrounding areas should carefully evaluate both flooring materials and installation methods before starting a project.
Choosing the Right Vinyl Flooring Type
Vinyl flooring comes in several formats, each with distinct installation methods and performance characteristics. Understanding the differences between luxury vinyl plank, luxury vinyl tile, and sheet vinyl will help you select the best option for your space and skill level.
- Luxury Vinyl Plank (LVP) vs. Luxury Vinyl Tile (LVT)
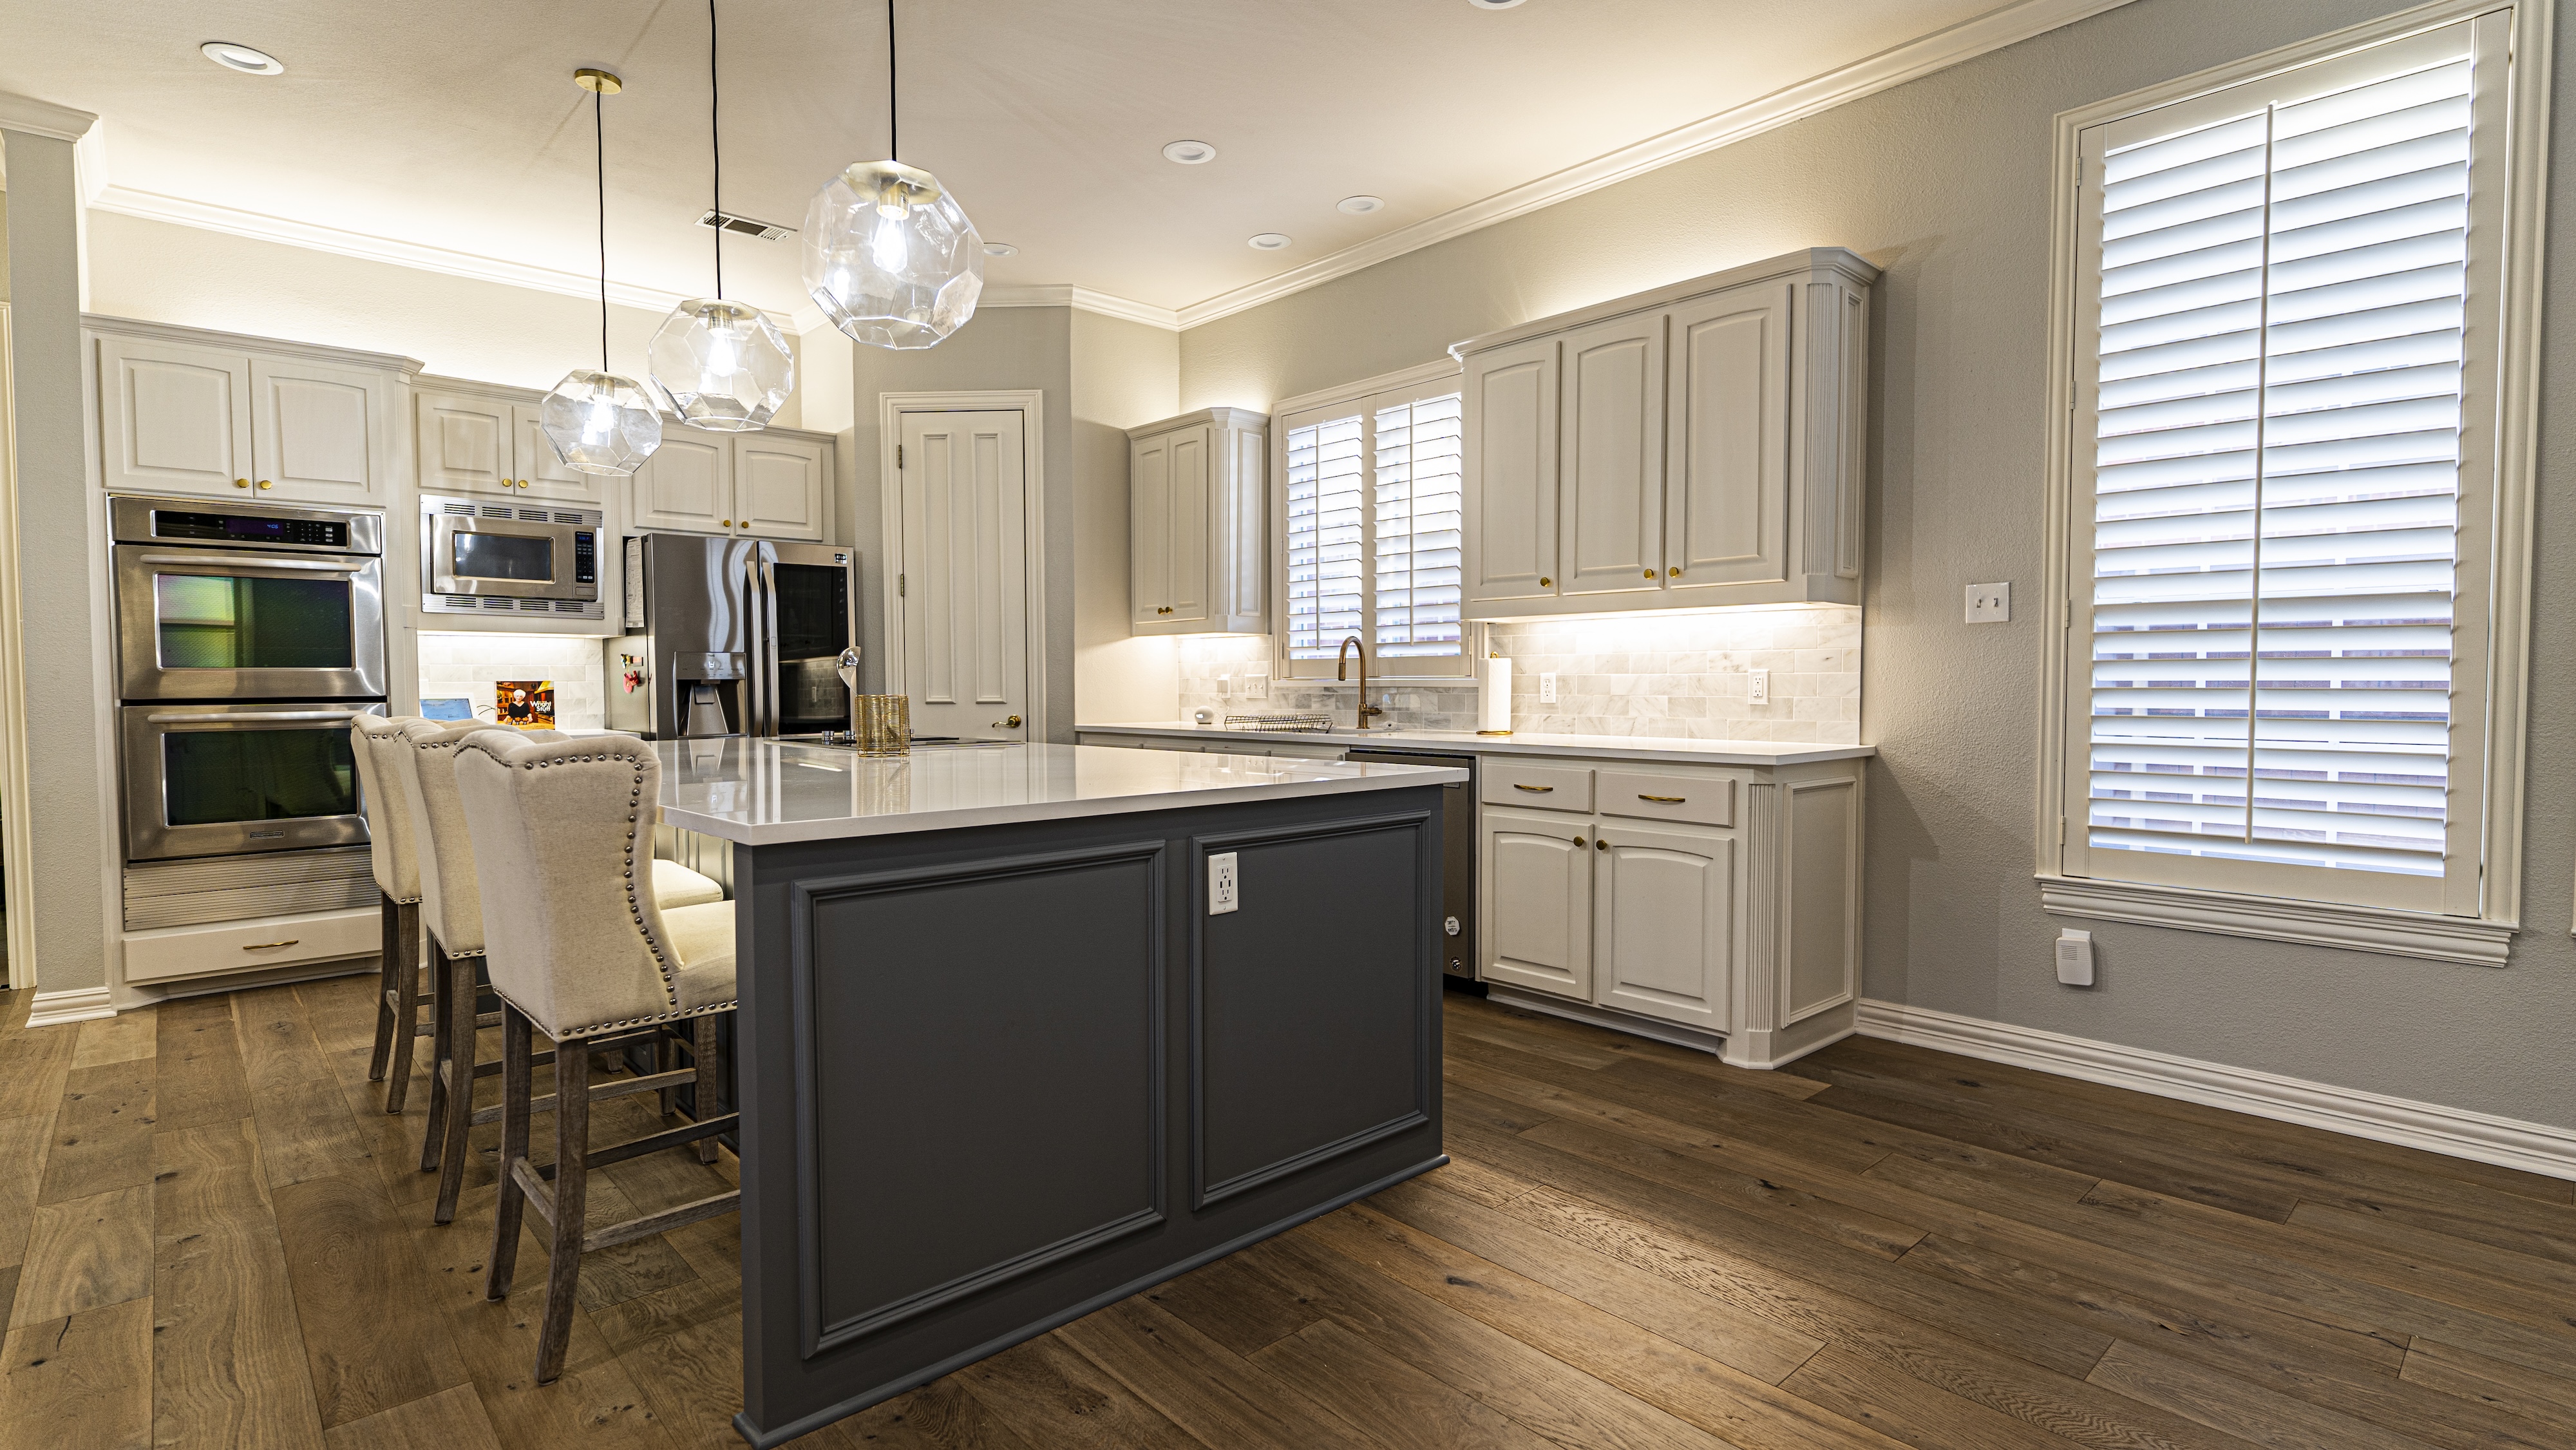
Luxury vinyl plank (LVP) is designed to look like hardwood flooring. The planks are long and narrow, typically measuring 36 to 48 inches in length and 6 to 9 inches in width. This format works well in living rooms, bedrooms, and hallways where you want a wood-like appearance, making it a popular choice in many kitchen remodeling projects where homeowners want a seamless flooring design throughout adjacent living spaces.
Luxury vinyl tile (LVT) mimics stone, ceramic, or porcelain tile. The tiles come in square or rectangular shapes, usually 12x12 inches or 18x18 inches. You'll find LVT ideal for bathrooms, kitchens, and entryways where a tile aesthetic fits better, especially during a bathroom renovation project where durability and moisture resistance are essential.
Both LVP and LVT are engineered products with multiple layers. The wear layer protects against scratches and stains. A thicker wear layer means better durability, with 12 mil or higher recommended for high-traffic areas.
The core layer determines water resistance. Some products are waterproof, while others are only water-resistant. Check the specifications before installing in moisture-prone areas.
- Benefits of Click-Lock Vinyl Plank
Click-lock vinyl features interlocking edges that snap together without adhesive. You simply angle one plank into another and press down until you hear a click. This makes installation faster and simpler than glue-down methods.
The floating installation method allows the floor to expand and contract naturally. You don't attach the planks to the subfloor, which means you can install them over most existing surfaces. This also makes removal and replacement easier if you need to access the subfloor later.
Click-lock systems work well for DIY projects because they're forgiving. If you make a mistake, you can disconnect the planks and start over. The installation doesn't require special tools beyond basic cutting equipment.
Most click-lock vinyl plank is ready to walk on immediately after installation. You don't need to wait for adhesive to cure or seal the floor before use.
- Sheet Vinyl and Alternative Options
Sheet vinyl comes in large rolls, typically 6 or 12 feet wide. This format covers floors with fewer seams, which reduces potential leak points in wet areas. Professional installation is often recommended because the material is harder to handle and cut precisely.
Glue-down vinyl plank is an alternative to click-lock systems. You apply adhesive to the subfloor before placing each plank. This method creates a more permanent installation and works better on uneven subfloors. However, it requires more preparation time and careful work to avoid mistakes.
Peel-and-stick vinyl offers a middle ground. The planks have pre-applied adhesive backing protected by a paper layer. You simply peel off the backing and press the plank into place. This option is easier than traditional glue-down but less forgiving than click-lock systems.
Essential Tools and Materials
Installing vinyl plank flooring requires specific tools and materials to ensure proper installation. The right equipment helps you achieve tight seams, straight cuts, and a stable foundation that will last for years.
- Must-Have Tools for a Professional Finish
A measuring tape is necessary for calculating room dimensions and planning your layout. You'll need a utility knife with sharp blades to score and snap planks for straight cuts.
For fitting planks together, a tapping block and rubber mallet work as a pair to click the tongue-and-groove edges without damaging the surface. The tapping block distributes force evenly while the mallet provides the necessary impact. A pull bar helps you close gaps along walls where the tapping block won't fit.
When cutting around door frames or irregular shapes, an oscillating multi-tool makes precise cuts that a standard saw cannot. You'll also need 1/4-inch spacers to maintain expansion gaps around the room's perimeter.
For accurate straight cuts, use a flooring cutter or miter saw. A jigsaw handles curved cuts around pipes and other obstacles. Keep a pry bar handy if you need to remove baseboards or adjust planks during installation.
- Selecting Underlayment for Vinyl
Some vinyl planks come with underlayment already attached to the bottom. If your planks don't include this feature, you need to purchase it separately.
Underlayment for vinyl provides sound dampening and helps smooth minor subfloor imperfections. Foam underlayment works well for floating vinyl installations over concrete or wood subfloors. It typically comes in rolls that you unroll and tape together as you work.
Avoid using thick underlayment, as vinyl planks need a firm surface. Most manufacturers recommend 1-2mm foam thickness. Check your flooring warranty requirements before selecting underlayment, as some manufacturers specify compatible types.
- Accessories and Adhesives
Caulk seals gaps between the flooring and baseboards for a finished appearance. Choose a flexible caulk that matches your floor color.
For glue-down installations, you need the manufacturer-recommended adhesive and a notched trowel to spread it evenly. A floor roller (typically 100 pounds) presses glued planks firmly to the subfloor. Most DIY installations use click-lock planks that don't require adhesive.
Transition strips cover edges where vinyl meets other flooring types. T-molding works for same-height transitions, while reducers handle height differences.
Preparation Before Installation
Getting your space ready takes time but prevents problems later. You need accurate measurements, a clean level surface, and properly acclimated materials to ensure your vinyl plank flooring performs well for years.
- Measuring and Ordering Materials
Start by measuring the length and width of each room in feet. Multiply these numbers to get the square footage. Add 10% extra to account for cutting mistakes and waste from fitting planks around corners and doorways.
Check if your vinyl flooring includes pre-attached underlayment. Some products come ready to install, while others require a separate underlayment layer. Order all materials at once to ensure the planks come from the same manufacturing batch and match in color.
Make a list of additional supplies you'll need:
If you're updating multiple rooms at once, working with a professional interior designer can help ensure your flooring selections complement the overall design of your home.
- Spacers for expansion gaps
- Transition strips for doorways
- Underlayment (if not pre-attached)
- Adhesive or tape (for certain installation types)
- Acclimating Vinyl Plank Flooring
Place unopened boxes of vinyl planks in the room where you'll install them. Keep the room temperature between 65-85°F. Most manufacturers recommend waiting 48 hours before installation.
Stack boxes flat on the floor, not against walls. This allows air to circulate around all sides. Don't skip this step even if you're eager to start. Planks that aren't acclimated can expand or contract after installation, causing gaps or buckling.
- Subfloor Cleaning and Leveling
Your subfloor must be clean, dry, and level for installing LVP. Sweep and vacuum thoroughly to remove all dust, debris, and old adhesive. Any bumps or dips will show through the finished floor.
Check for level using a straight edge or level tool. The subfloor shouldn't vary more than 1/8 inch over any 6-foot span. Fill low spots with floor leveling compound and sand down high spots.
Test for moisture if you're working over concrete. Excess moisture damages vinyl flooring over time. The concrete must be fully cured and dry before you begin vinyl flooring installation.
- Removing and Reinstalling Baseboards
Remove baseboards carefully if you want to reuse them. Slide a putty knife behind the baseboard and gently pry it away from the wall. Work slowly to avoid cracking the wood or damaging the wall.
Number each piece on the back with pencil as you remove it. This makes reinstalling them in the correct spots much easier. Pull out nails from the back side using pliers to avoid splintering the face.
You can also choose to leave baseboards in place and cover the expansion gap with quarter-round molding after you install vinyl plank flooring. This option works well if your baseboards are painted to match the walls or difficult to remove without damage.
Step-by-Step Installation Process
Installing vinyl plank flooring requires following a specific order to ensure rows stay straight and planks lock together properly. You'll start from one wall and work across the room, making cuts as needed for a professional finish.
- Laying Out the First Rows
The first row sets the foundation for your entire floor. Measure the room width and divide by the plank width to determine if you need to cut the first or last row. If the final row will be less than 2 inches wide, cut the first row narrower to balance the layout.
Start in the left corner of your longest wall. Place spacers between the wall and planks to create a 1/4-inch expansion gap. This gap allows the floor to expand and contract with temperature changes.
Lay the first plank with the tongue side facing the wall. Continue adding planks end-to-end along the wall. Stagger the end joints by at least 6 inches between rows to create a stronger installation and better appearance.
- Fitting Planks with Click-Lock Systems
Click-lock vinyl plank flooring snaps together without glue or nails. Hold the second row plank at a 20 to 30-degree angle to the first row. Insert the tongue into the groove of the installed plank.
Lower the plank slowly until you hear or feel a click. The click means the planks have locked together correctly. Apply gentle pressure along the seam to ensure full contact.
For end joints, angle the short end of the new plank into the previously installed plank. Push forward while lowering to engage the lock. Some products require you to lay planks flat and tap them together horizontally instead of angling them.
- Cutting Vinyl Plank Around Obstacles
You'll need to cut planks to fit around doorways, pipes, and vents. Measure from the wall to the obstacle, accounting for the expansion gap. Transfer these measurements to your plank using a pencil or marker.
Use a utility knife and straight edge for straight cuts. Score the plank several times, then bend it back and forth until it snaps. For curves and intricate cuts, use a jigsaw with a fine-tooth blade.
Create relief cuts for pipes by measuring the pipe's position and diameter. Cut a slit from the plank edge to the pipe location. Cut out a circle slightly larger than the pipe. The slit will close once the plank is installed, hiding the cut.
- Using Tapping Blocks and Pull Bars
Tapping blocks protect plank edges while you close gaps between rows. Place the block against the plank's long edge and tap gently with a rubber mallet. Work your way down the entire length of each plank to ensure tight seams.
Pull bars help you connect the last row against the wall where a tapping block won't fit. Hook the pull bar over the plank edge and tap the other end with your mallet. This pulls the plank tight against the previous row.
Never strike planks directly with a hammer or mallet. Direct hits can damage the tongue and groove system or crack the plank surface. Always use the proper tools to apply force evenly and protect your flooring investment.
Finishing Touches and Transitions
The gaps around your floor's edges need proper coverage to protect the planks and create a polished look. Transition strips bridge different flooring types, while moldings cover expansion gaps along walls.
- Installing Transition Strips and Reducers
Transition strips connect your vinyl plank flooring to other floor surfaces in doorways and between rooms. A reducer strip works when your vinyl floor sits higher than the adjacent flooring, creating a gentle slope between the two surfaces. T-molding fits between two floors of equal height.
Measure the doorway width and cut your transition pieces to fit. Most transition strips attach directly to the subfloor, not to your floating floor. This prevents the strip from restricting the natural expansion and contraction of your planks.
Leave a 1/4-inch gap between your vinyl plank flooring and the transition strip. Use screws or adhesive based on your transition type. Track systems snap into place after you secure the base track to the subfloor. Some transition strips come with pre-drilled holes for easy installation.
- Attaching T-Molding and Quarter Round
T-molding slides into a track system installed in the gap between two floating floors. The track sits in the subfloor while the molding snaps in from above. This method allows both floors to expand independently without buckling.
Quarter round molding covers the expansion gap along your walls. Attach it to the baseboard or wall, never to the vinyl planks themselves. This lets your floor move freely underneath.
Cut quarter round pieces at 45-degree angles for clean corner joints. Use a miter saw for accurate cuts. Nail the molding into the baseboard using finish nails spaced 16 inches apart. Fill nail holes with wood putty that matches your molding color.
- Reinstalling Baseboards
Remove existing baseboards carefully before installing your floor to avoid damage. Number each piece on the back so you know where it goes later.
Clean the back of each baseboard before reinstalling. Your new floor height might require adjustments to how the baseboards sit. Nail baseboards into wall studs, not into your vinyl planks. The floor needs space to expand beneath the baseboard.
Use a nail gun or hammer with finish nails. Place nails every 16 inches along the length. If gaps appear between the baseboard and wall, apply caulk for a seamless finish.
Common Pitfalls and Pro Tips
Getting vinyl plank flooring installation right requires attention to detail and avoiding shortcuts. Poor staggering patterns, improper expansion gaps, and rushed subfloor prep can lead to buckling, warping, and an unprofessional finish.
- Ensuring Even Plank Staggering
Your plank layout pattern affects both the strength and appearance of your luxury vinyl plank floor. You need to stagger end joints by at least 6 inches between adjacent rows to prevent H-patterns or stair-step seams that weaken the floor structure.
Start each new row with planks of varying lengths. Cut your first plank anywhere from 6 to 12 inches shorter than the previous row's starting plank. This creates a random, natural-looking pattern.
- Avoid these staggering mistakes:
- Creating repeating patterns every few rows
- Placing end joints closer than 6 inches apart
- Using leftover pieces without checking the stagger distance
- Starting multiple rows with the same length plank
Keep your cutoff pieces organized by length. You can often use them to start new rows while maintaining proper spacing.
- Managing Expansion Gaps
Vinyl flooring expands and contracts with temperature changes. You must leave a gap of 1/4 inch around all walls, doorways, and fixed objects like cabinets or posts.
Use spacers along the walls during installation to maintain consistent gaps. Remove the spacers only after completing the entire floor. Your baseboards or quarter round will hide these gaps when you reinstall them.
Key expansion gap locations:
- All perimeter walls
- Around pipes and vents
- Door frames and transitions
- Kitchen islands and cabinets
Skip the expansion gap and your LVP will buckle when it expands. This happens most often in rooms exposed to direct sunlight or seasonal temperature swings.
Mistakes to Avoid During Installation
Your subfloor must be clean, dry, level, and flat before you lay any planks. Sweep and vacuum thoroughly to remove all dust and debris. Check for level using a straight edge, and sand down high spots or fill low areas exceeding 3/16 inch over 10 feet.
Let your vinyl planks acclimate in the room for 48 hours before installing. This prevents expansion or contraction after installation that causes gaps or buckling.
Don't rush the click-lock connections. Angle each plank at 20-30 degrees, engage the tongue into the groove, then lay it flat until you hear a click. Forcing planks together damages the locking mechanism.
Measure twice before cutting planks around obstacles. Mark your cuts clearly and use a utility knife with a straight edge for clean lines.
Frequently Asked Questions
Installing vinyl plank flooring raises common questions about tools, preparation, and technique. Understanding these basics helps you avoid mistakes and get professional results.
What tools and materials do I need before starting a vinyl plank floor project?
You need a tape measure, utility knife, straight edge, pencil, and spacers for expansion gaps. Most installations also require a rubber mallet, tapping block, and pull bar for fitting planks together.
For cutting, you'll want a square or T-square for marking straight lines. A jigsaw or handsaw helps with cuts around door frames and curved obstacles.
Basic materials include the vinyl planks themselves, underlayment if needed, and painter's tape. You should also have cleaning supplies ready to prep your subfloor properly.
How should I prepare a subfloor to ensure a flat, stable surface for vinyl planks?
Your subfloor must be clean, dry, and level before you install anything. Sweep and vacuum to remove all dust, dirt, and debris that could create bumps under your new floor.
Check for high and low spots using a long level or straight board. The subfloor should be flat within 3/16 inch over a 10-foot span.
Fix any dips with floor leveling compound and sand down high spots. Remove any old nails or staples that stick up. If you have a concrete subfloor, fill cracks and let repairs dry completely before moving forward.
Do vinyl planks need an underlayment, and how do I choose the right type?
Many vinyl planks come with underlayment already attached to the bottom. Check your product specifications to see if your planks have built-in padding.
If your planks don't include underlayment, you'll need to install a separate layer. Foam underlayment works well for most installations and helps with minor subfloor imperfections.
Use moisture barrier underlayment over concrete subfloors to prevent moisture damage. Some situations require both a moisture barrier and foam padding as separate layers.
How do I measure a room and calculate how many boxes of vinyl planks to buy, including waste?
Measure the length and width of your room in feet. Multiply these numbers to get your total square footage.
Add 10% to your square footage to account for cutting waste and mistakes. Rooms with many angles or obstacles may need 15% extra material.
Divide your total square footage (including waste) by the coverage listed on each box of planks. Round up to the nearest whole number to know how many boxes to purchase.
What is the correct way to stagger seams and maintain expansion gaps when laying planks?
Start your first row along the longest wall in the room. Use spacers against the wall to maintain a 1/4-inch gap for expansion.
Stagger end joints by at least 6 inches from row to row. This creates a more stable floor and looks better than aligned seams.
Never align end joints in a step pattern or H-pattern, as this weakens the installation. Mix up plank lengths from different boxes to create a random, natural appearance.
Maintain your 1/4-inch expansion gap around the entire perimeter of the room. You'll cover these gaps later with baseboards or quarter-round trim.
How do I cut vinyl planks accurately for corners, doorways, and around obstacles like vents?
Score vinyl planks with a utility knife and straight edge for straight cuts. Press firmly and make several passes, then bend the plank to snap it cleanly.
For doorways, use a scrap piece of flooring as a guide to cut the door jamb at the right height. This lets you slide planks underneath for a clean look.
Make a cardboard template for complex shapes around vents, pipes, or irregular corners. Transfer the template to your plank and cut carefully with a jigsaw or coping saw.
Measure twice before cutting to avoid waste. Leave small gaps around pipes and vents for expansion, then cover these spaces with appropriate trim pieces.